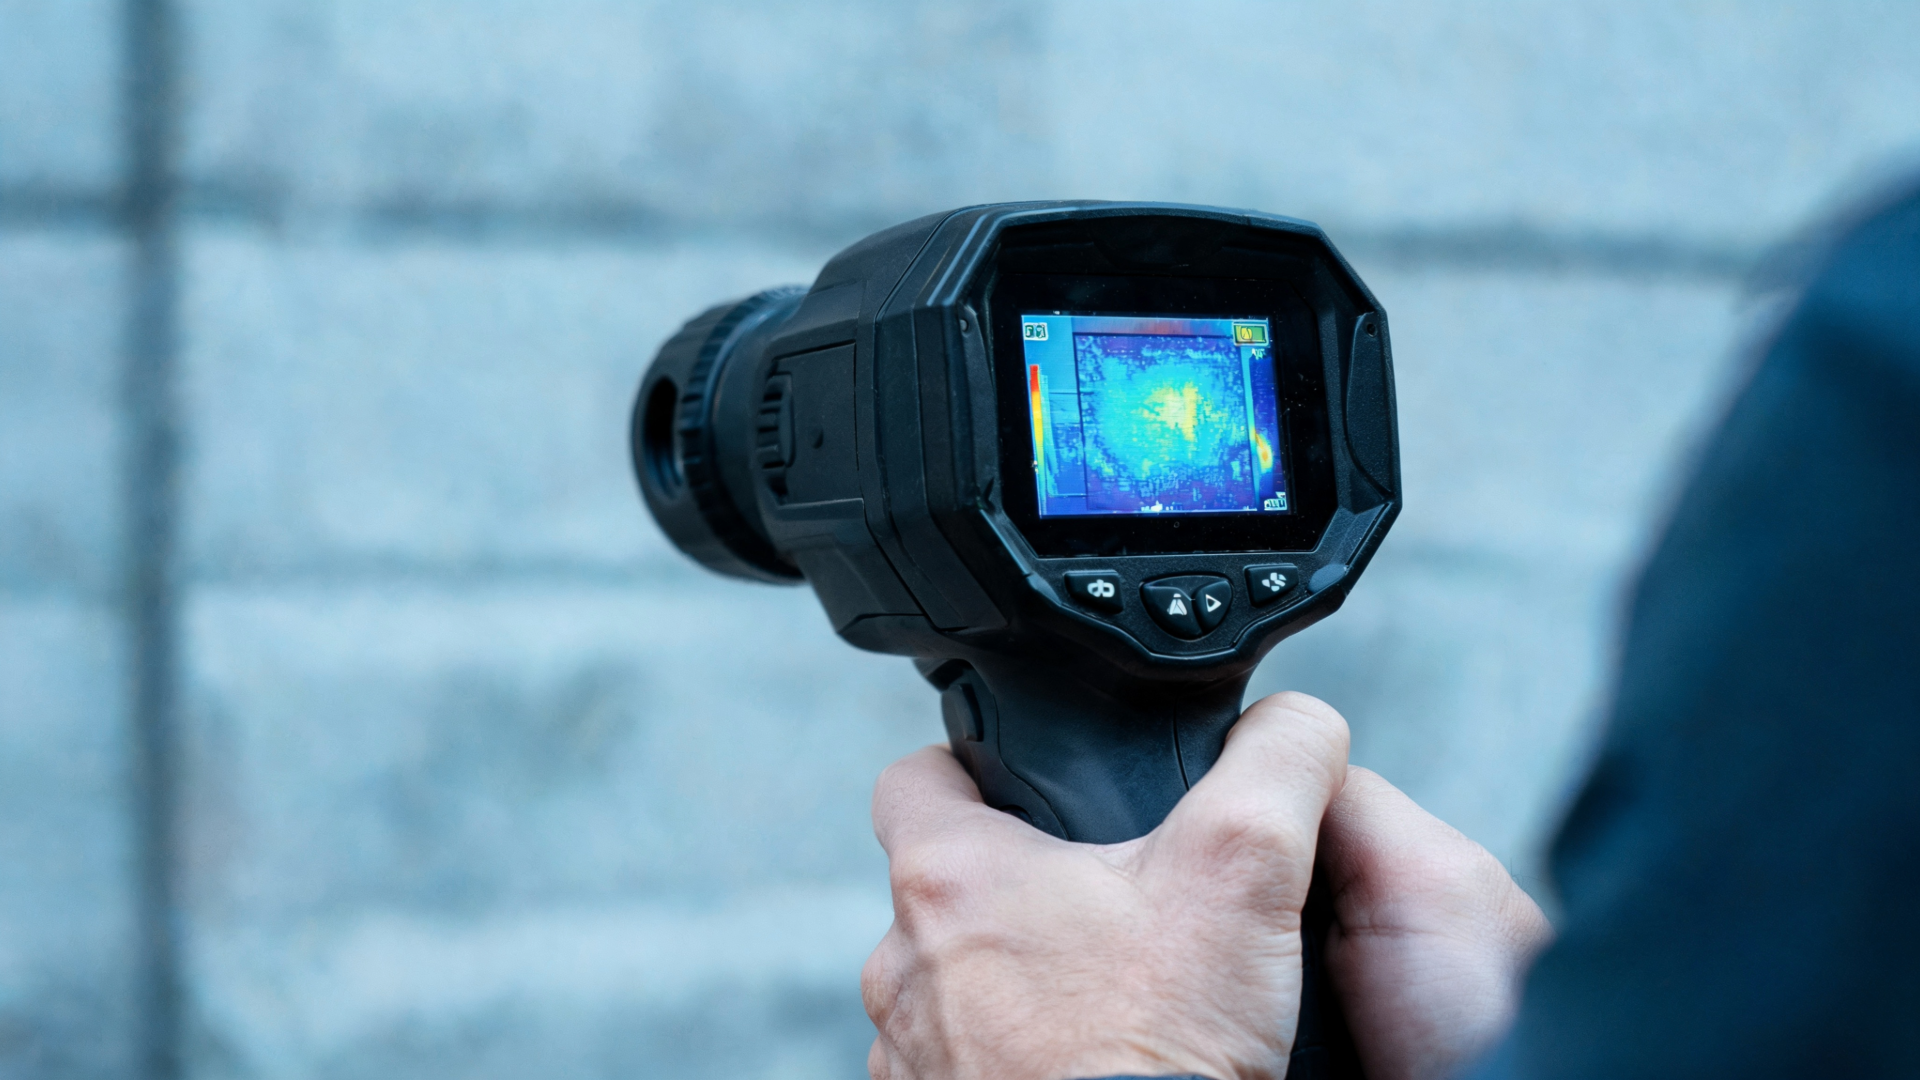
BREEAM certification doesn’t accept a design-stage assumption that a building’s fabric performs as specified – it wants independent, third-party verification. A BREEAM thermographic survey is one of the routes to that evidence, using infrared imaging to confirm a building’s insulation is continuous and free from unintended air leakage paths, rather than taking the construction drawings on trust.
In this blog you’ll learn:
- What a BREEAM thermographic survey specifically needs to demonstrate
- The standard it’s assessed against, and how that differs from a standard thermographic survey
- What a real BREEAM thermographic survey looks like in practice
What Is BREEAM?
BREEAM (Building Research Establishment Environmental Assessment Method) is the UK’s leading sustainability rating scheme for non-domestic buildings, run by BRE. It assesses a building’s environmental performance across a range of categories – energy, water, materials, waste and management among them – awarding a rating band from Pass through to Outstanding based on the credits achieved. Thermography sits within that framework as evidence supporting a specific credit, rather than being a certification in its own right.

In short: a BREEAM thermographic survey is a standard infrared thermography assessment (to BS EN 13187 and BRE Report 176) used as evidence for a BREEAM credit. There’s no separate BREEAM-specific survey method – what’s scheme-specific is the credit clause itself, and how any defect found gets evaluated against the BRE IP 1/06 condensation-risk threshold.
What Does a BREEAM Thermographic Survey Need to Show?
A BREEAM thermographic survey needs to confirm two things: that a building’s insulation is continuous across its external elevations and internal-to-external junctions, and that there’s no significant thermal bridging or unintended air leakage path that the design didn’t account for. That’s a higher bar than simply checking whether insulation is present – it’s about whether it’s been installed as a continuous system, since a single break in continuity can undermine the fabric’s performance at that point regardless of how well-insulated the rest of the building is.
BREEAM: The Standard Behind the Credit
There isn’t a separate, BREEAM-specific survey standard. Four distinct things are actually in play, each governing a different part of the process:
- BS EN 13187:1999 – survey execution. Dictates the thermal imaging procedure itself: environmental conditions (a minimum 10°C internal/external temperature differential), camera calibration, and the physical conditions our Thermographic Survey Requirements guide covers in full.
- BRE Report 176 – good practice guidance. Sets out good design practice for avoiding thermal insulation continuity defects, and the practical inspection technique that goes with it.
- BRE IP 1/06 – defect evaluation. Not a survey standard – a thermal bridging and condensation risk calculation guide, used once a cold spot has already been found.
- The BREEAM credit clause – scheme-specific. Where thermography sits within the BREEAM scheme itself (commonly Man 04, Commissioning and Handover, under UK New Construction 2014/2018 and V6, though numbering and grouping differ under Refurbishment and Fit-Out and International/In-Use schemes). Always confirm the exact credit code and criterion with the project’s BREEAM Assessor – don’t assume it from a different scheme version.
How a defect actually gets judged: when a thermogram shows a cold spot, a thermographer needs to establish whether it’s a genuine defect or just a minor geometrical anomaly. That judgement uses a Temperature Factor, expressed as: f_Rsi = (T_si − T_o) ÷ (T_i − T_o)
Where T_si is the internal surface temperature at the junction, T_i is the internal air temperature, and T_o is the external air temperature. The result is compared against a threshold – 0.75 for dwellings, 0.70 for commercial buildings – below which a junction indicates a genuine condensation or mould risk, not just an artefact of the image.
In summary: BS EN 13187 and BRE 176 govern how the survey is carried out; BRE IP 1/06 governs how a defect is judged once it’s found; and the credit clause itself is scheme-specific and needs confirming project-by-project.
Our Expert Insight: Pairing Thermography With an Air Test
Our technical team typically recommends pairing a BREEAM thermographic survey with an air permeability test on the same visit. Thermography confirms where the fabric is continuous or compromised; an air test independently confirms how airtight the completed building is overall. Together they give a genuinely complete picture of fabric performance, rather than one piece of evidence standing in for both.
Real Example: The Blagdon Building, Bristol Veterinary School
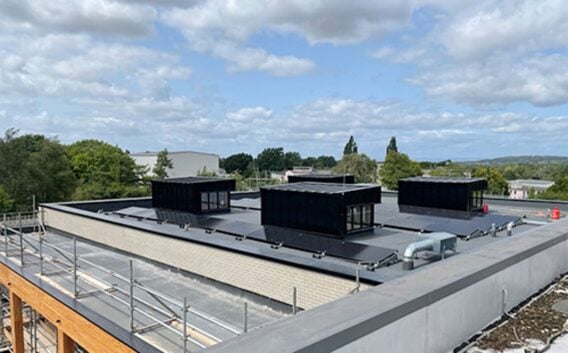
The new Blagdon Building at the University of Bristol’s Langford veterinary campus needed to demonstrate two things before completion: continuous insulation with no unintended air leakage paths in its timber-frame construction, in support of a BREEAM thermographic credit, and a design air permeability considerably tighter than the regulatory minimum. We combined a BREEAM-compliant thermographic survey, assessed to BS EN 13187 and BRE 176, with a zone air permeability test to verify both. The thermal imaging found good continuity of insulation with no significant construction defects, and the completed building achieved an air permeability of 1.85 m³/(h·m²) at 50 Pa – comfortably inside both the design target and the regulatory backstop.
What’s Next?
A BREEAM thermographic survey is evidence, not a formality – confirming a building’s fabric performs the way its design says it should rather than assuming it. If you’re pursuing a BREEAM credit and aren’t sure whether thermography, an air test or both are the right evidence for your project – or which credit clause applies under your scheme version – we can help you work that out before you commission anything.

Tell us your BREEAM scheme and building type, and we’ll confirm what evidence you need.