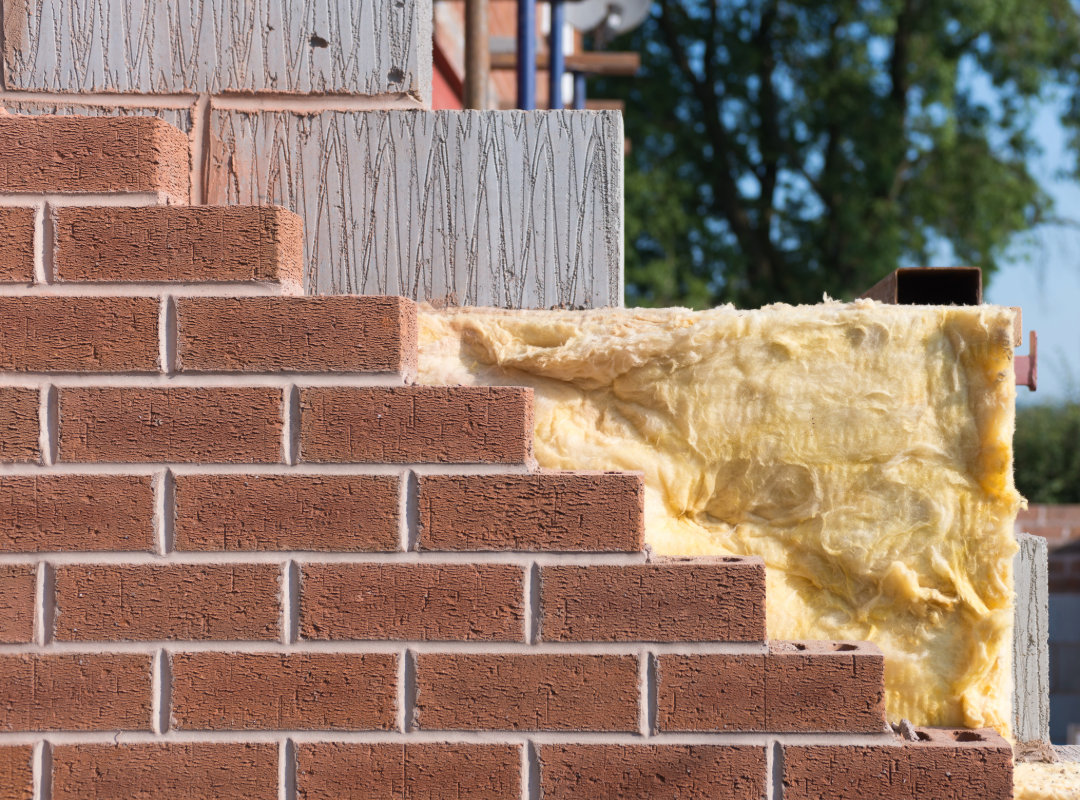

Cavity walls are one of the most common features in modern homes, and one of the easiest to get wrong without anyone noticing. The gap between the two brick or block layers is supposed to insulate and manage moisture – but if it’s been poorly filled, damaged or never insulated at all, there’s no visible sign from inside or outside the house. A cavity wall camera inspection is how you find out what’s actually happening in there, using a borescope rather than guesswork.
In this blog you’ll learn:
- What a cavity wall is and why the condition of the cavity matters
- What a borescope camera inspection actually involves
- What it can reveal – and why that matters for energy efficiency, damp and structural condition
What Are Cavity Walls?
Most homes built from the 1920s onwards use cavity wall construction: two layers of brick or block with a gap in between. Done well, this gives you two benefits at once:
- Insulation – the air gap (or the insulation filling it) slows heat loss through the wall
- Moisture control – the cavity lets any moisture that gets through the outer layer drain away, rather than reaching the inner leaf
Both of these depend entirely on the cavity being built and insulated correctly in the first place. When it isn’t, the wall doesn’t fail dramatically – it just quietly underperforms.
Why a Cavity Wall Inspection Matters
Because a poorly performing cavity gives no obvious external signal, problems tend to surface as:
- Higher energy bills – heat escaping through missing or slumped insulation
- Damp and mould – moisture trapped in the cavity rather than draining away, which can affect both the building fabric and indoor air quality
- Structural risk over time – debris buildup or water ingress gradually compromising the wall
A borescope inspection, carried out by a trained retrofit assessor, identifies these issues while they’re still cheap to fix – rather than after they’ve shown up as a cold room, a damp patch or a heating bill that doesn’t add up.
Understanding The Cavity Wall Camera Inspection Process
The process is minimally invasive:
- Visual assessment – the assessor checks the exterior walls for visible signs of damage first
- Drilling access holes – small holes (around 8mm) are drilled into the mortar joints to reach the cavity
- Borescope examination – a thin, flexible camera is fed through the hole to inspect the cavity directly, checking for missing or damaged insulation, water damage or debris
- Documentation – photos and video are recorded for the inspection report
- Sealing – the holes are sealed with weatherproof sealant once the inspection is complete

Proving It in Practice: Anchor Properties
We recently used borescope cavity wall inspections as part of a wider PAS 2035 retrofit assessment across 28 retirement flats for Anchor Properties in Newbury, where residents had reported ongoing damp and mould. Rather than assuming the cause and specifying a fix on guesswork, we went behind the walls first to establish what was actually driving it.
Why This Requires Proper Training, Not Just a Borescope
Owning a borescope doesn’t make someone qualified to interpret what it shows. Our assessors are trained specifically in:
- Cavity wall construction – recognising different build types, materials and typical failure points
- Borescope technique – getting a precise, useful image without repeated or unnecessary drilling
- Non-intrusive practice – keeping disruption to the home to a minimum throughout
That combination is what turns a camera inspection into a reliable diagnostic – rather than a set of photos someone has to guess the meaning of afterwards.
If you’re a homeowner concerned about a previous cavity wall insulation installation specifically – rather than the wall itself – the government’s consumer guide to issues arising from CWI installations sets out routes to redress and how to avoid fraudulent claims companies.
What’s Next?
A cavity wall camera inspection gives you an evidenced answer – not a guess – about what’s actually happening behind your walls, and whether the issue is insulation, moisture or something else entirely. That distinction matters, because the fix (and the cost) is completely different depending on which one it is.

Get in touch if you’d like a borescope inspection carried out on your property, or want to talk through whether it’s the right first step for a damp or energy efficiency issue you’re seeing.